

It’s always a pain when you have damage to your walls, but unfortunately, it’s not uncommon—whether you have kids running around the house or furniture or wall décor leave a mark, it’s good practice to learn how to patch and repair drywall.
Repairing drywall is a pretty simple process that just requires the right tools and materials. If you’re a first-time DIYer, don’t worry—we’ll walk you though everything you need to have to repair drywall as well as what to do for different types of damage.
Tools & Materials
Let’s start off first with the tools and materials you’ll need to complete your drywall repair. You will need the following products:
- Drill
- Drywall saw
- Utility knife
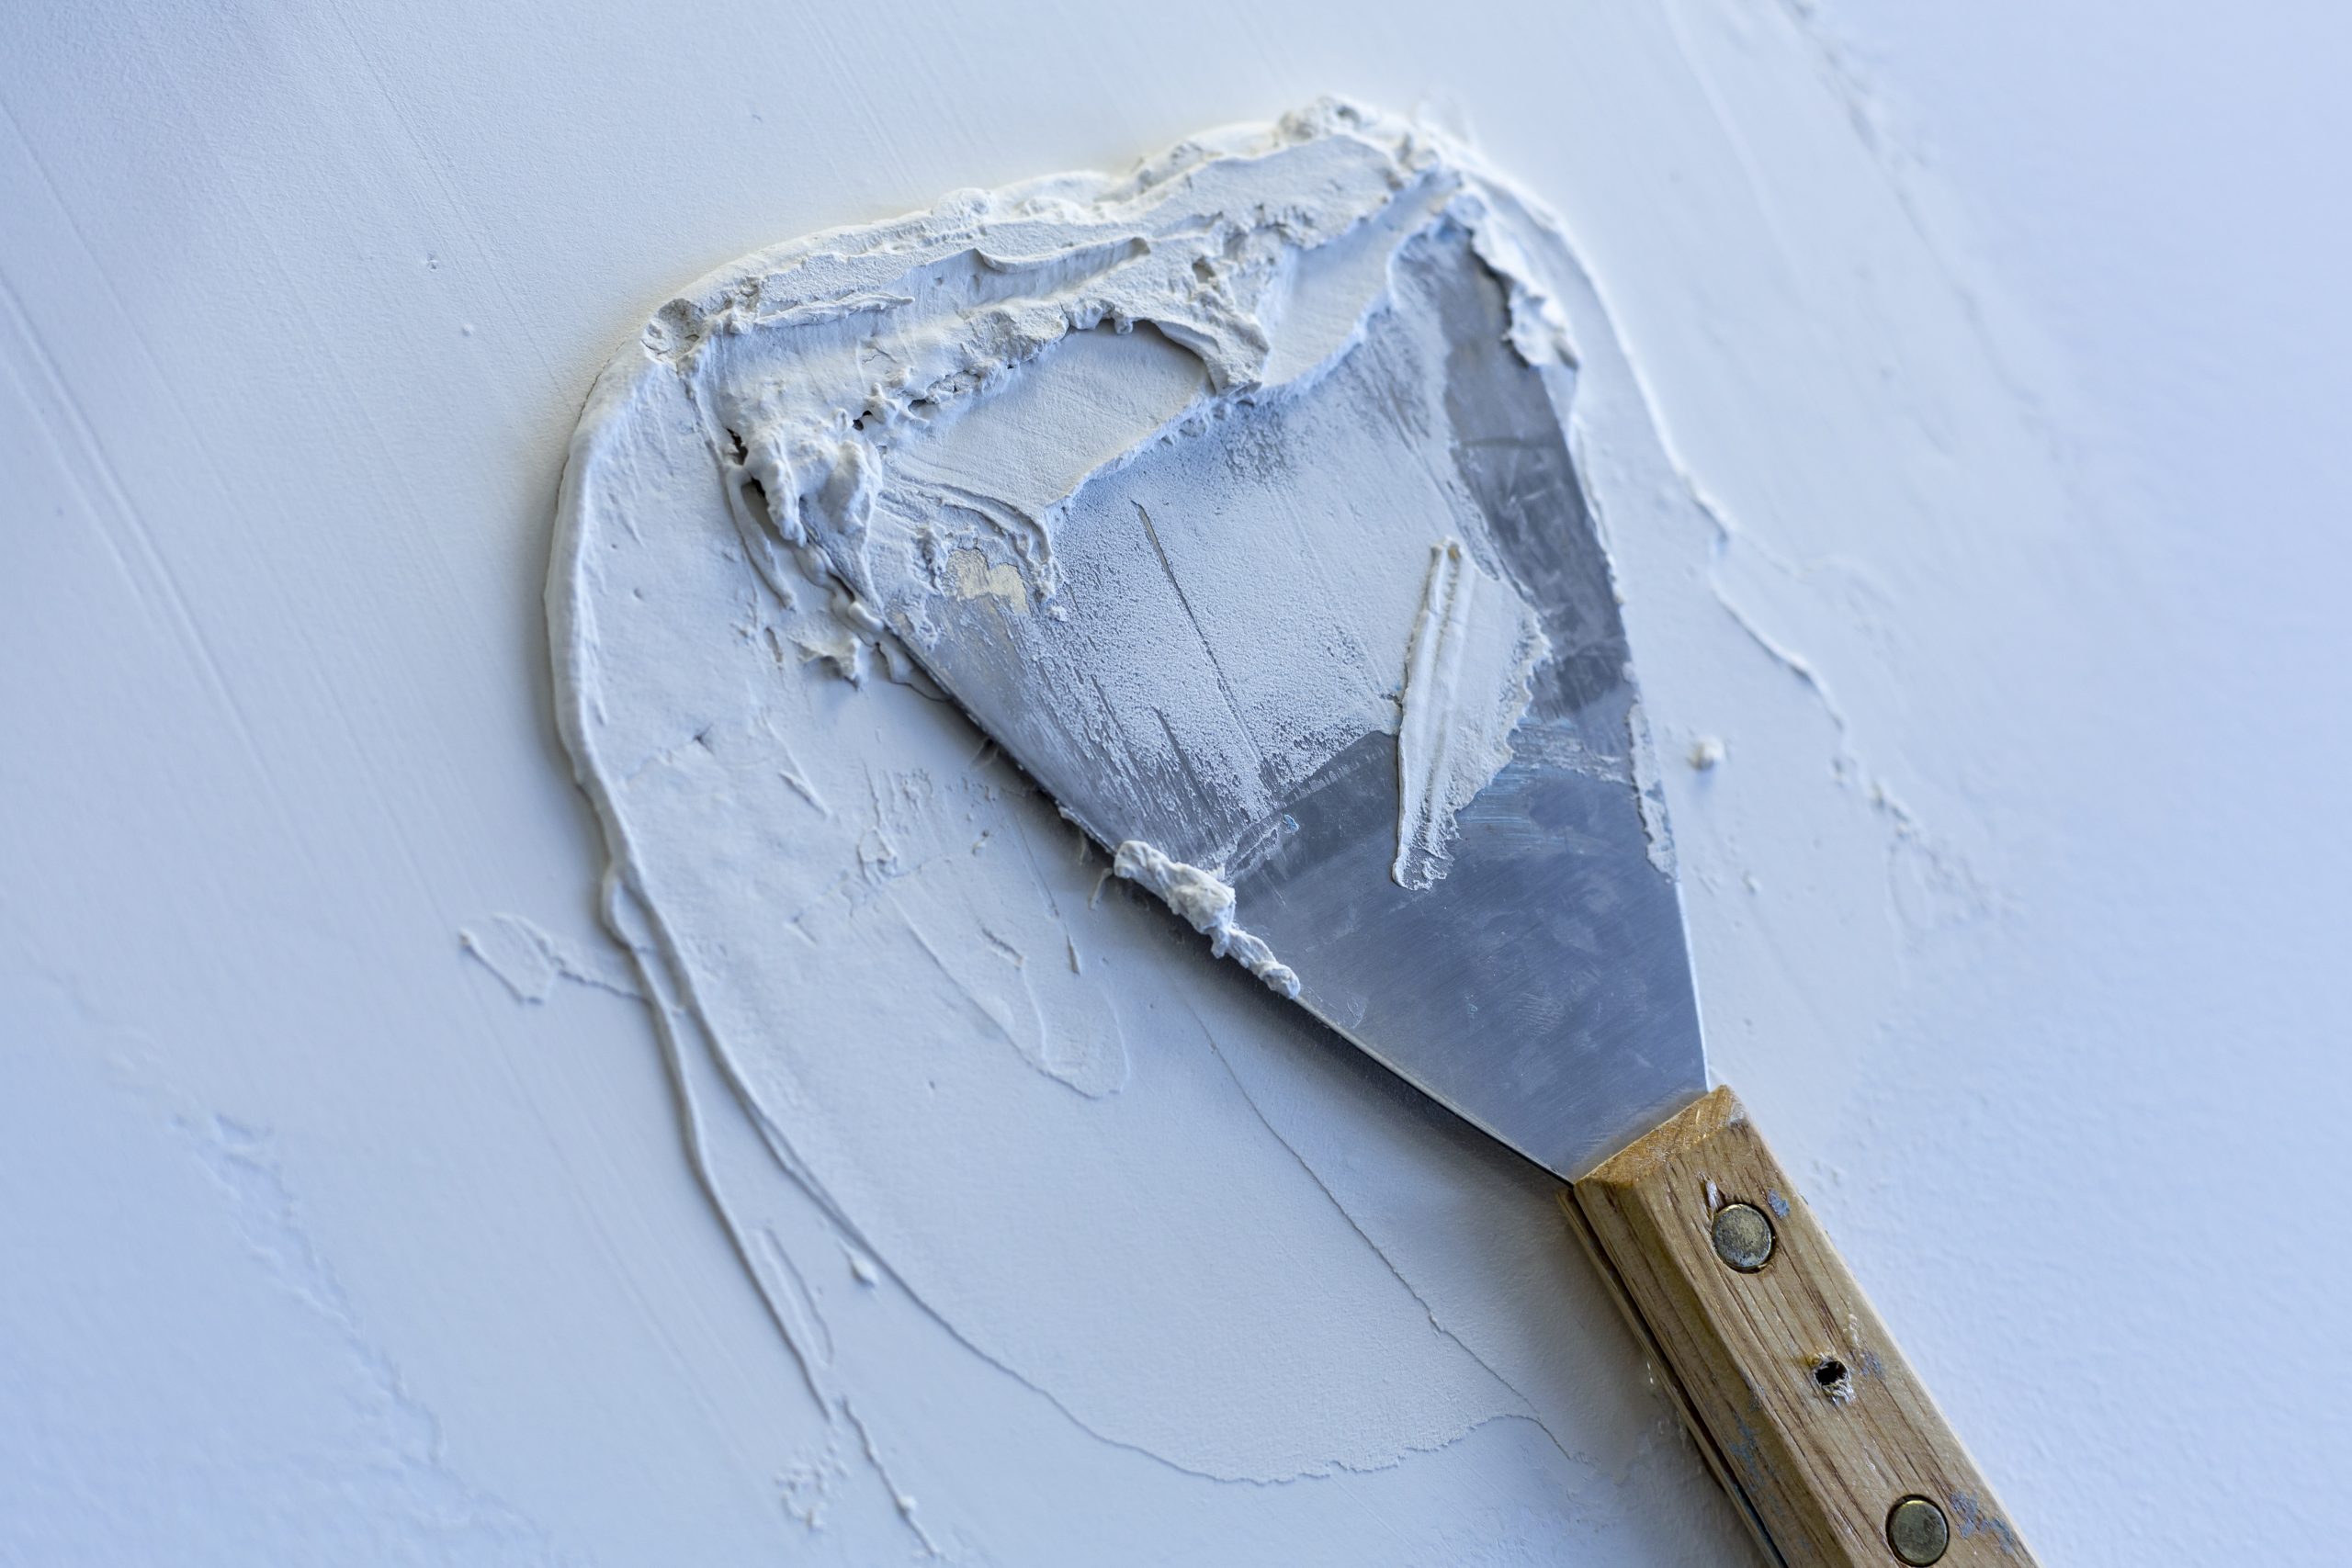
- Drywall/taping knife
- Tape measure
- Adhesive
- Drywall tape
- Masking tape
- Drywall screws
- Joint compound
All of these tools and accessories can be found at your local drywall store. In addition to collecting the proper tools and materials, remember to wear the appropriate safety equipment to minimize risk of injury. When working with drywall, you can protect yourself with work gloves, a dust mask, goggles, and other protective clothing to ensure personal safety on the job.
Types of Drywall Repairs
Before you begin your drywall repair, first consider what type of repair you’re doing so that you can plan timing and purchases accordingly. Are you repainting the entire wall or are you simply touching up and patching certain areas?
Here is a guide to help you with any type of drywall repair you need from small to large repairs.
Small Dings
If you’re reading this, you’re in luck—small repairs are pretty easy to do, even for a first-time DIYer. First, scrape away any loose material or debris from the wall, then apply spackle to cover the damaged spot. After letting dry for 24 hours, simply sand smooth and you’re good to go!
Popped Nail Heads
Popped nail heads are a fairly common problem with a simple solution. Follow these easy steps to replace your popped nail head with a new one:
- Drive a drywall screw 1.5” above the popped nail head into the wall stud to reattach the drywall and stud just below the surface.
- Drive the popped nail into the wall.
- Cover the screw and nail heads with spackle, let dry for 24 hours, and sand and smooth. Voila!
Drywall Holes
When it comes to repairing holes in drywall, you’ll want to purchase patch kits specific to the size of the hole.
Small
For small holes, use a self-adhesive mesh patch and place it over the hole. After you’ve placed the patch, use a drywall knife to cover the patch with spackling compound and feather the edge to blend the spackle to the wall. Once you have covered the patch, let the spackle dry and sand smooth.
Medium
To patch a medium hole, cut a piece of drywall into a square that measures two inches larger in height and width than the damaged area. After this, score the back of the drywall piece with a utility knife roughly an inch from each side, then snap off the drywall but LEAVE the backing.
Now hold the patch over the hole and trace the border of the drywall square, not including the backing paper, then use a drywall saw to cut out the trace. Now that you have your patch, apply joint compound to the back of the paper border and fit the patch to the hole, gently pressing it into place. Finally, cover the patch with more joint compound and feather, let dry, and sand smooth.
Large
The process of patching a large hole is similar to that of a medium hole—follow the above steps past cutting the trace and attach a furring strip inside the hole with screws. After the furring strip is placed, screw the patch into place and put joint tape on the borders of the patch to prevent cracks. You know what to at this point—cover with joint compound, let dry, and sand smooth!
Patching Corner Bead
Patching damaged corner bead is another easy DIY fix. Follow these steps to patch your corner bead:
- Use a hack saw to make horizontal cuts above and below the damaged piece.
- Connect these cuts with vertical cuts by use of a utility knife and remove the damaged corner.
- Cut a new piece of corner bead to fill the damaged spot and attach it to the walls via adhesive or fasteners.
- Lastly, apply joint compound to both sides of the corner, let dry, and sand smooth.
When you’re done with your repair, always remember to finish the repair by priming and painting!
DIY Your Drywall Repair with Jones Heartz Building Supply
Now that you know what tools and materials you need to get and how to repair your damaged drywall, it’s time to take a trip to your local drywall store! At Jones Heartz, we carry various drywall repair tools to fit all your project needs. If you still have questions about the products you need or the repair process, contact us today to speak with an experienced drywaller at our company.